Probiotic Preserved Lemons (aka Fermented Lemons)
Fermented lemons are a simple and delicious way to preserve lemons. This recipe only requires salt and the lemons’ own juices, making it a quick and easy way to add a touch of lemony flavor to your dishes.
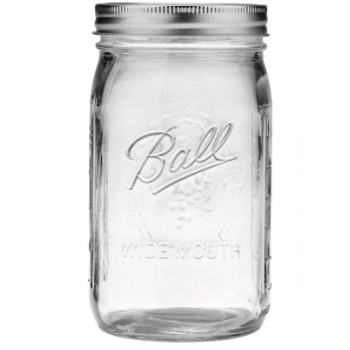
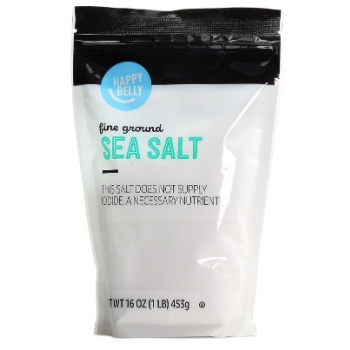
If you’re new to fermenting, this is a great recipe to start with. You’ll only need a clean glass jar, lemons (preferably organic), and sea salt.
When life gives you lemons, make preserved lemons!
Preserved lemons are lemons that have been salted and packed into jars, where they ferment for several weeks or months. This process is called lacto-fermentation.
While preserved lemons are nothing new to Middle Eastern cuisine, they’re now finding their way into Western kitchens. Though they’re considered a delicacy by many, you’ll be surprised at how easy they are to make.
The only difficult part, as with all fermenting projects, is the waiting. From start to finish, preserved lemons take about 4 weeks. If you live in a colder climate, you may have to wait an extra week or two to start enjoying this delicious condiment that’s bursting with beneficial bacteria.
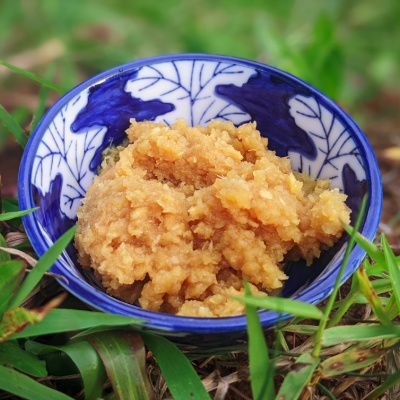
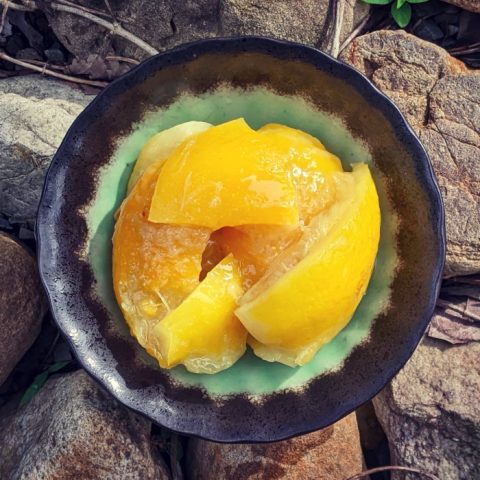
What do preserved or fermented lemons taste like? They bring a bright and vibrant citrus flavor to your dish, just like lemon zest, but much better. The slow fermentation breaks down the lemon rind and removes the bitterness, leaving a pleasant, complex, tart, salty citrus flavor.
Although they’re well-suited to a variety of dishes, preserved lemons work particularly well in dressings or sauces, Moroccan or Middle Eastern-inspired dishes, and braised or roasted vegetables.
Once you start making preserved lemons, you’ll kick yourself for not starting a new batch sooner. Trust me, we’ve been there!

Servings
makes 1 jar
Ready In:
1-2 months
Calories:
5 (per 15 grams)
Good For:
Condiment
Introduction
About this Recipe
By: Amy Goodrich
The rind of preserved lemons is often prized by chefs, but the whole preserved lemon can also be used.
The fermentation process takes about 1 to 2 months, depending on the volume and climate.A big jar will take longer, and hotter temperatures will speed things up.
Fermentation isn’t an exact science, but the more you do it, the easier it will be to tell when your lemons are ready. They are ready for use when the rind becomes pliable and lost its bitterness.

Ingredients
- 4 organic lemons
- ¼ to ½ cup sea salt
FYI: This recipe makes one jar of preserved lemons. The jar size that I used for this recipe is 500 milliliters, which equals two cups or about 17 ounces. This recipe does not require exact measuring of ingredients, so feel free to adapt to your jar size.
Meet the powerhouse rock stars of this dish


Nutrition
Preserved lemons are a fermented food, which means they contain probiotics. Probiotics are live bacteria that are good for your gut health.
The fermentation process also increases the levels of vitamins. However, you will only be using preserved lemons in small amounts in your cooking so they are unlikely to have a significant impact on your daily nutritional needs.

Step by Step Instructions
Step 1 – Wash and soak your lemons
If possible, use organic lemons, as you will be eating the rind. Regardless of their origin, scrub the lemons thoroughly to clean them well.
If you did not buy organic lemons, you may want to give them a soak in vinegar or baking soda to remove any chemicals that may have been sprayed on them. I bought organic lemons, but I still soaked mine in a vinegar bath for 15 minutes.

Step 2 – Prepare your lemons
To prepare the lemons, trim off the tips without cutting into the flesh. The tips can keep their bitterness long after the rest of the lemon is ready to use.
Slice the lemons lengthwise into quarters, stopping about 1/2 inch from the bottom. This will create a cavity for the salt. Add a thin layer of salt to the bottom of a jar. Stuff each lemon with about a teaspoon of salt. Pack the lemons tightly into the jar, sprinkling each layer with additional salt.
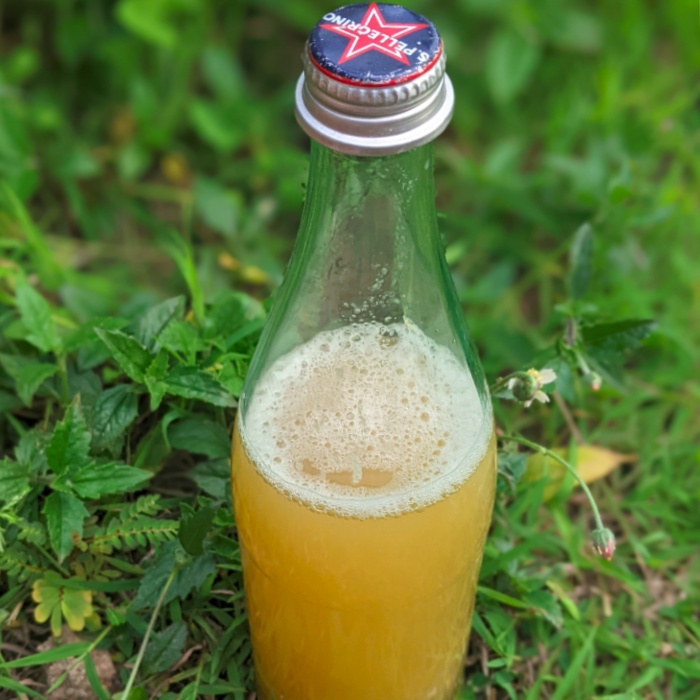
Use a pestle or blender tamper to press down on the lemons so that they release their juice. The juice, combined with the salt, will form a brine that completely covers the lemons. If the lemons do not release enough juice, squeeze some extra lemon juice into the jar.


Step 3 – Preserving – fermenting of the lemons
Close the jar tightly and let it sit at room temperature out of direct sunlight. Every few days, open the lid to let the fermentation gas out.
To keep the lemons submerged, you can use a fermentation weight. If you don’t have one, just check the lemons once or twice a day and push them back under the brine.
Ferment the lemons for 3-4 weeks, giving them a shake every now and then to disperse the juice and salt. The brine will thicken over time. The lemons are ready when the skin has become soft and lost its bitterness. I live in the tropics, for me the whole process usually takes about 4 weeks.
If the rind is not soft and has not lost its bitterness after 3-4 weeks, ferment it for a bit longer. Depending on your climate and the volume you made, fermentation can take up to 2 months.


Fermentation Notes
- Use plastic lids for your glass jars, as the salt will erode metal lids. Make sure the plastic lids don’t touch the lemons or brine.
- I recommend starting with a simple recipe for your first batch of fermented lemons. Once you get the hang of it, you can start experimenting with adding different herbs and spices. Some popular additions include cinnamon sticks, chili peppers, bay leaves, and peppercorns.
Easy, Printable Recipe Card
Probiotic Preserved Lemons (aka Fermented Lemons)
These preserved lemons are a tangy, lemony, and probiotic-rich addition to your kitchen. They can be used in a variety of dishes, from stews to salads to marinades.
Ingredients
- 4 organic lemons
- ¼ to ½ cup sea salt
Instructions
If possible, use organic lemons, as you will be eating the rind. Regardless of their origin, scrub the lemons thoroughly to clean them well.
If you did not buy organic lemons, you may want to give them a soak in vinegar or baking soda to remove any chemicals that may have been sprayed on them. I bought organic lemons, but I still soaked mine in a vinegar bath for 15 minutes.
To prepare the lemons, trim off the tips without cutting into the flesh. The tips can keep their bitterness long after the rest of the lemon is ready to use.
Slice the lemons lengthwise into quarters, stopping about 1/2 inch from the bottom. This will create a cavity for the salt. Add a thin layer of salt to the bottom of a jar. Stuff each lemon with about a teaspoon of salt. Pack the lemons tightly into the jar, sprinkling each layer with additional salt.
Use a pestle or blender tamper to press down on the lemons so that they release their juice. The juice, combined with the salt, will form a brine that completely covers the lemons. If the lemons do not release enough juice, squeeze some extra lemon juice into the jar.
Close the jar tightly and let it sit at room temperature out of direct sunlight. Every few days, open the lid to let the fermentation gas out.
To keep the lemons submerged, you can use a fermentation weight. If you don't have one, just check the lemons once or twice a day and push them back under the brine.
Ferment the lemons for 3-4 weeks, giving them a shake every now and then to disperse the juice and salt. The brine will thicken over time. The lemons are ready when the skin has become soft and lost its bitterness. I live in the tropics, for me the whole process usually takes about 4 weeks.
If the rind is not soft and has not lost its bitterness after 3-4 weeks, ferment it for a bit longer. Depending on your climate and the volume you made, fermentation can take up to 2 months.
Notes
- Use plastic lids for your glass jars, as the salt will erode metal lids. Make sure the plastic lids don't touch the lemons or brine.
- I recommend starting with a simple recipe for your first batch of fermented lemons. Once you get the hang of it, you can start experimenting with adding different herbs and spices. Some popular additions include cinnamon sticks, chili peppers, bay leaves, and peppercorns.